


Ashtray Retrofit to Larger Storage Center Console Cubby, 996 (99-04), 986 (97-04)
| Brand: | Renndition |
| Model: | Porsche 911 (996) & Boxster (986) |
| Years: | (1999-2004), (1997-2004) |
| WH Rack: | E10-4 |
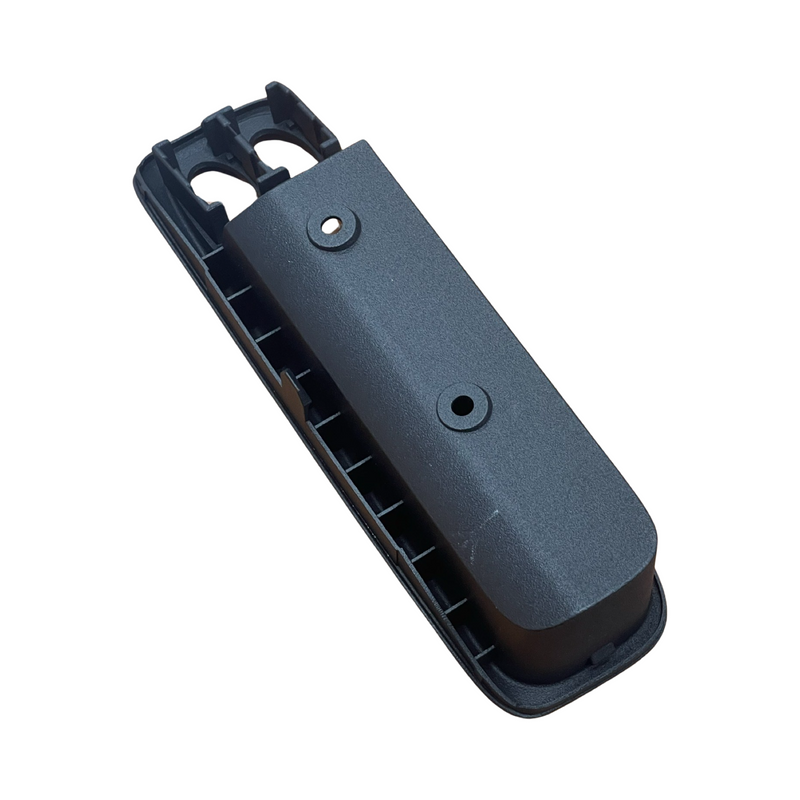
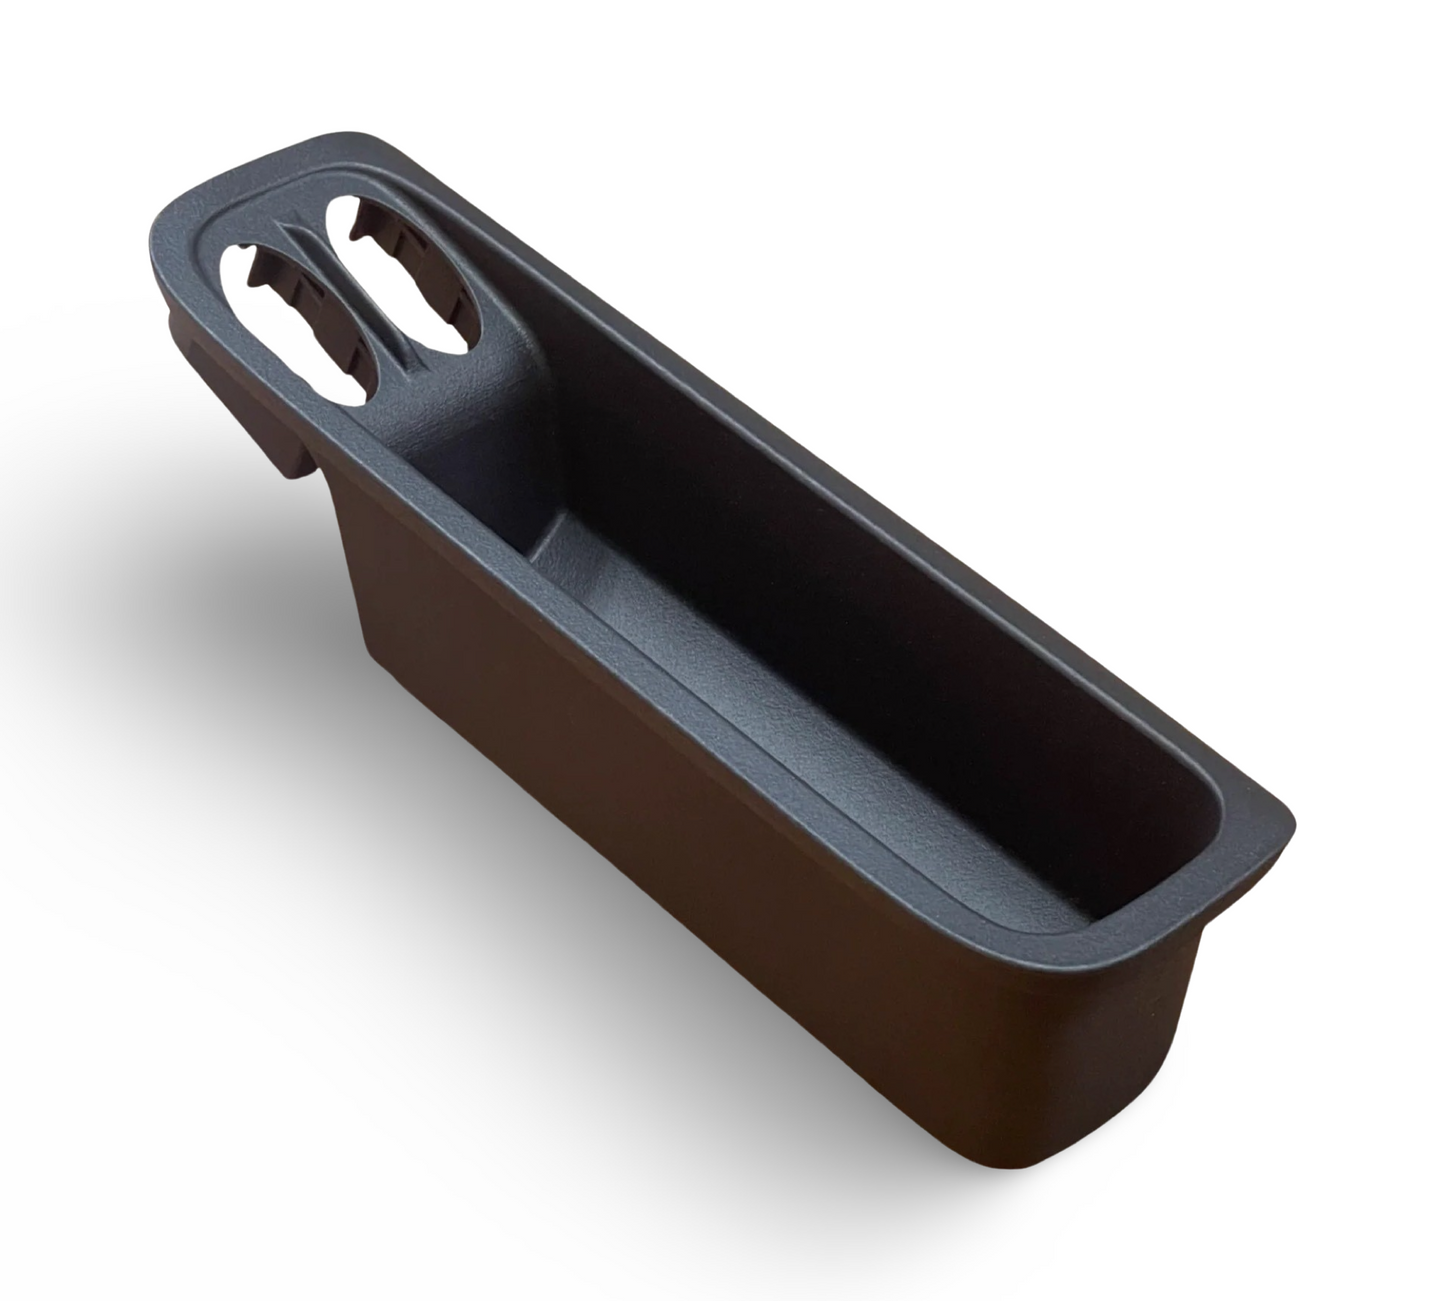
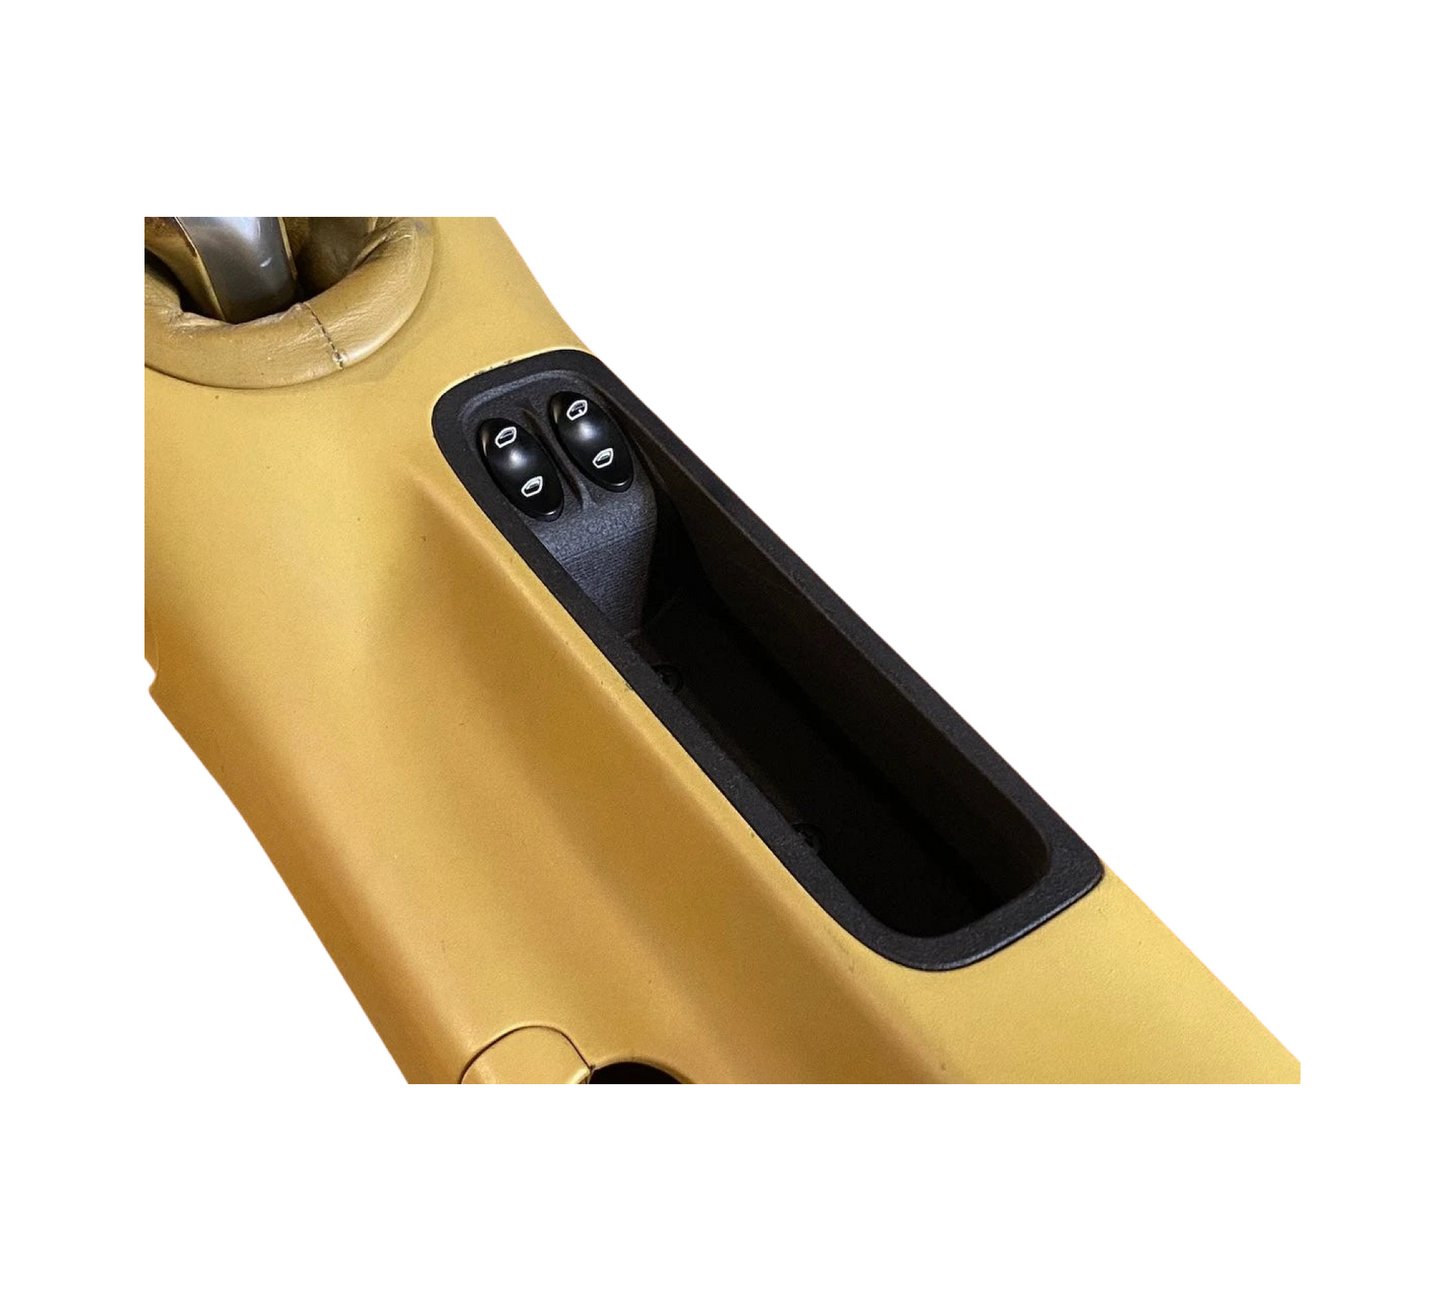
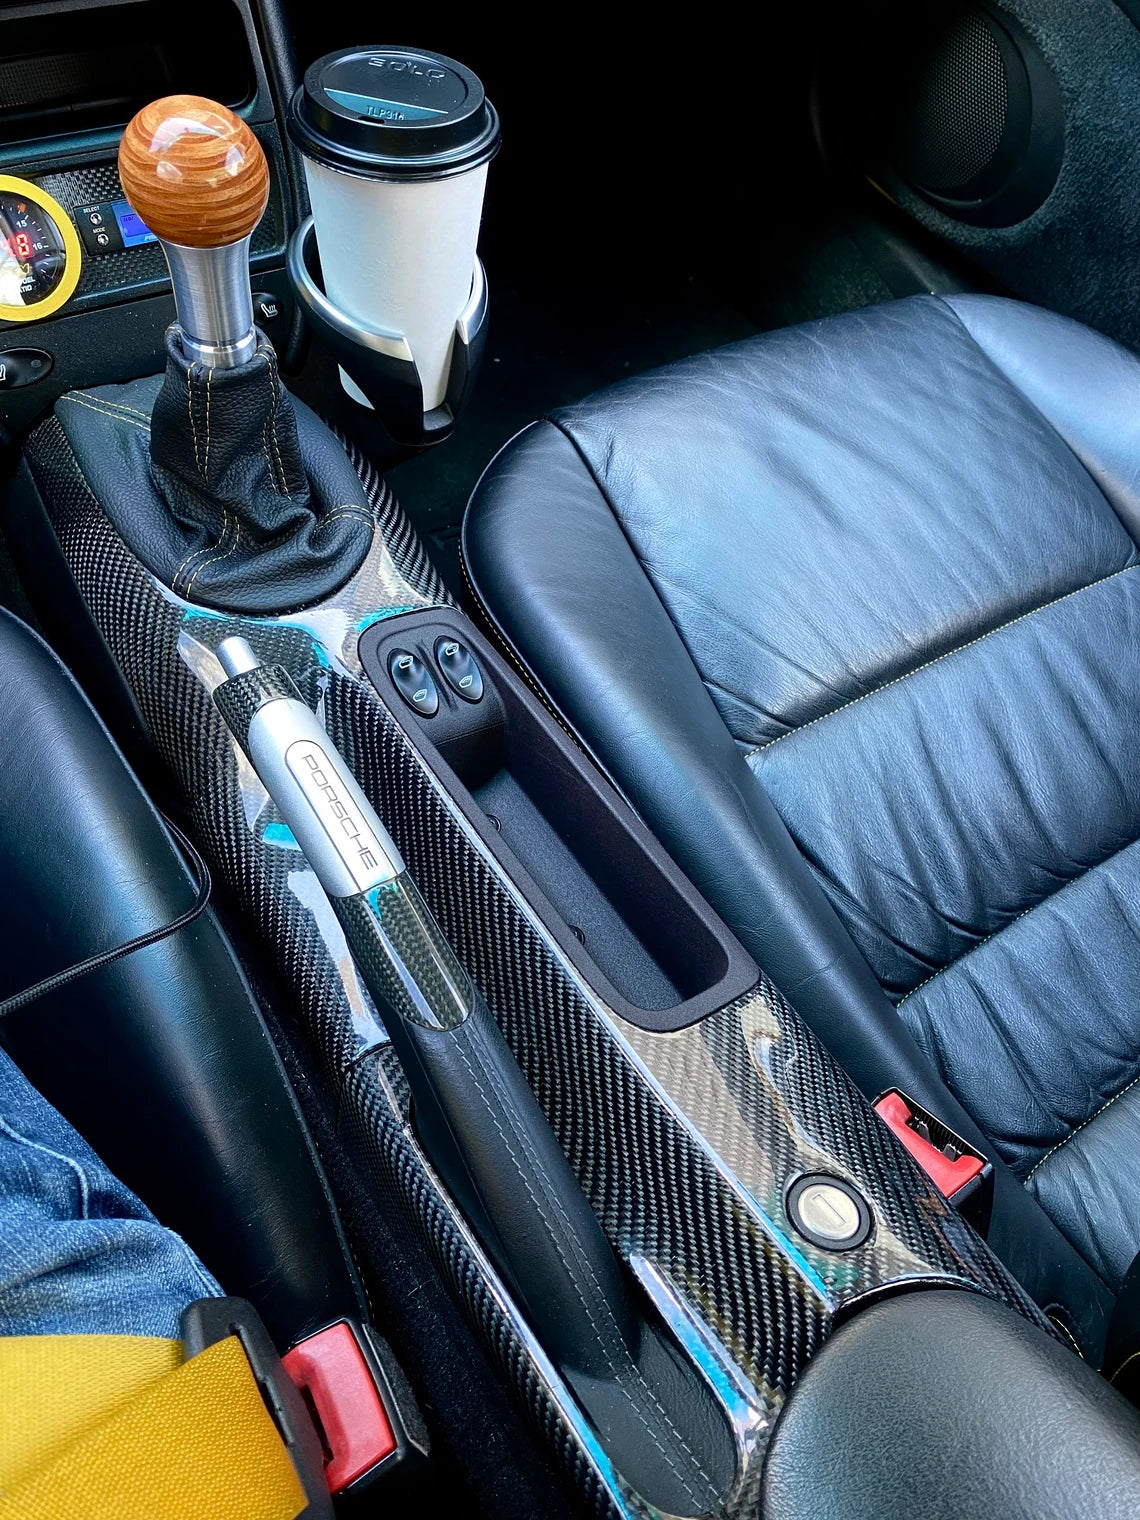
This is full replacement of the ashtray/window switch panel into double window switch with larger storage cubby.
*window switches are only for demonstration and are not included in this listing, you will reuse your old ones.
Please check out Matt Ross's YouTube channel and follow his progress on 996 Turbo rebuild. He was kind to give this replacement cubby an honest review. You can find video here - https://youtu.be/uLQAVUSkLIE (specific mentions of the cubby are at time marker 9:50 and 16:20). Good series to watch for anyone owning Porsche 996.
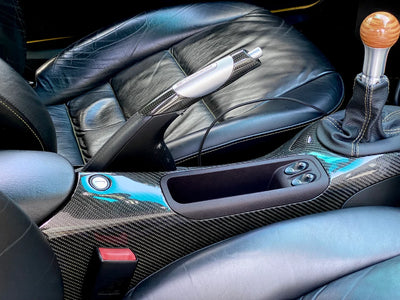
Idea behind creating this upgrade was pretty simple, all of coupes (Carrera, turbo, gt2, gt3 etc) came equipped with center console panel ready to accept 4 window switches (which are only utilized in convertibles) that means for all coupe owners 2 of those placeholders came occupied by blank dummy buttons. No one needs those blanks or ashtray in their cars, what we do need is a place to put small/medium items like a phone.
NOTE: 996 Convertible models require rear window switches, this replacement cubby will not work unless rear window switches are relocated. Please make sure your rear window switch buttons are not used before making a purchase.
As with everything that I create, my main goal is to keep things looking as stock as possible. This cubby blends in perfectly, follows the curves or the center console to fit perfectly into spot. Small enhancements you may notice are the angled position of the buttons as well as small ridge between them allowing for more tactile separation between both button switches (handy when not looking... How many times you or the passenger opened the wrong window? - this is to help with that)
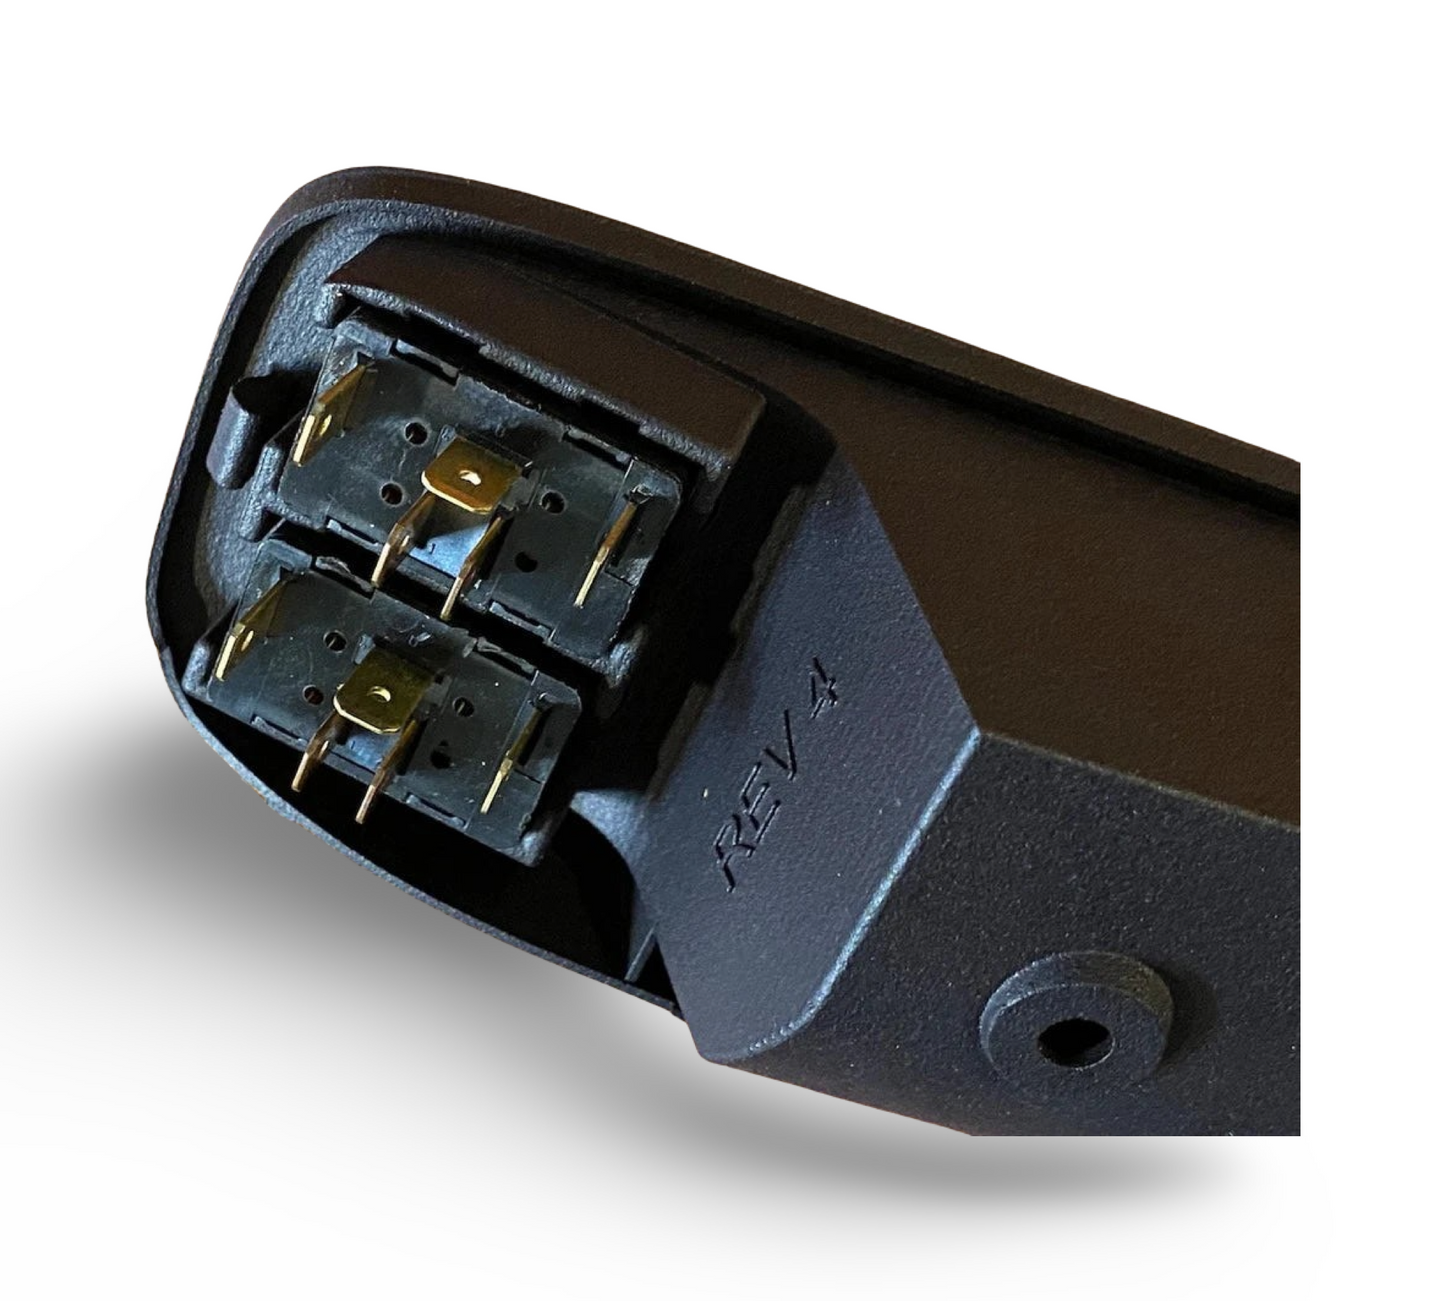
Manufactured with PA12 Nylon, strong, durable, heat resistant.
Installation:
- After removing the ashtray insert (open and pull up), notice 2 plastic retaining Torx screws, unscrew and save to reuse with new cubby
- OEM panel uses 2 clips on both sides (front and back of the car), pry one of the sides upwards (don't use anything that may damage the plastic, it should come up using just hands) once one side is up, other side should release easily
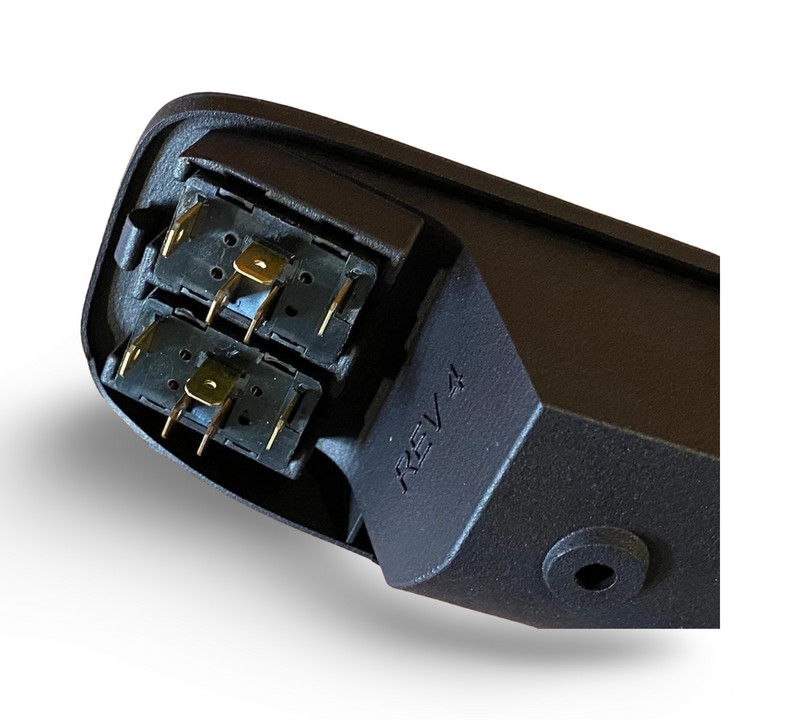
- disconnect the cables, remove the plastic retaining inserts (other part of the retaining plastic screw), remove window switches
- Insert window switches into the new cubby, insert plastic inserts (for retaining screws), connect the cables
- insert new cubby, first slide in one side then press other firmly in
- Finish off by screwing back plastic retaining screws
Couldn't load pickup availability